Dutch Bucket Hydroponics

Growing in Dutch or Bato Buckets
NFT channels are designed for growing small leaf crops such as lettuce and small herbs, but growing larger plants such as tomatoes, cucumbers, beans, and peppers in NFT channels is difficult, if not impossible. Large plants are usually more of a “long term” plant and need more root area than an NFT channels offers (they can also capsize the channels), so hydroponics (a lot of very large growers use hanging gutters and rockwool slabs. However for a smaller grower without all of the monitors and alarms, those rockwool slabs could dry out if the injection system failed in any way or was just not feeding enough to a growing plant. It is very difficult to “re-wet” it completely. Even if you flood it with water the water will tend to just wet area right around the roots. The water is looking for the easiest path and just flow along and around the roots. That is bad because as the plants continue to grow the roots will not branch out into the dry areas. One of the main reasons that we use the Bato bucket systems & supplies is the fact that it is easy to re-wet perlite and the other is the reservoir at the bottom of the bucket that holds some reserve nutrient in case power goes off or even if the plant needs a little more nutrient that day because it is extra sunny. The elbows and overflow that are part of the bato bucket keep the plants from ever getting their roots drowned from too much nutrient that the plants did need because there was not as much sun or the day was cool and the plant did not take up as much as was being fed. We just feel that Bato Buckets are more user friendly ) We use bato buckets because growers use larger containers known as "Dutch" or Bato" buckets. Each square bucket measures about 12" to 14" (30 cm to 35 cms) on side and stands about 12" to 16" (30 cms to 40 cms) deep. These buckets are filled with a growing media - usually Perlite - and nutrients drip through a tube into the bucket to keep the Perlite moist. The waste stream is not recirculated because the plants might stay in these buckets for up to one year and recirculating the nutrients could move pathogens from one plant to another.
Plants For Bucket Growing
In commercial hydroponics the most commonly grown plant in Dutch buckets is tomatoes, but you can grow virtually any vining plant. Tomatoes, cucumbers, beans, peppers, and eggplants all grow well in Dutch bucket hydroponics. The seedlings are generally started in rockwool 1.5”cubes and when the plants are 8”-12” tall and ready to be clipped up to the plant support systems they are ready to transplanted in a Dutch or Bato bucket.
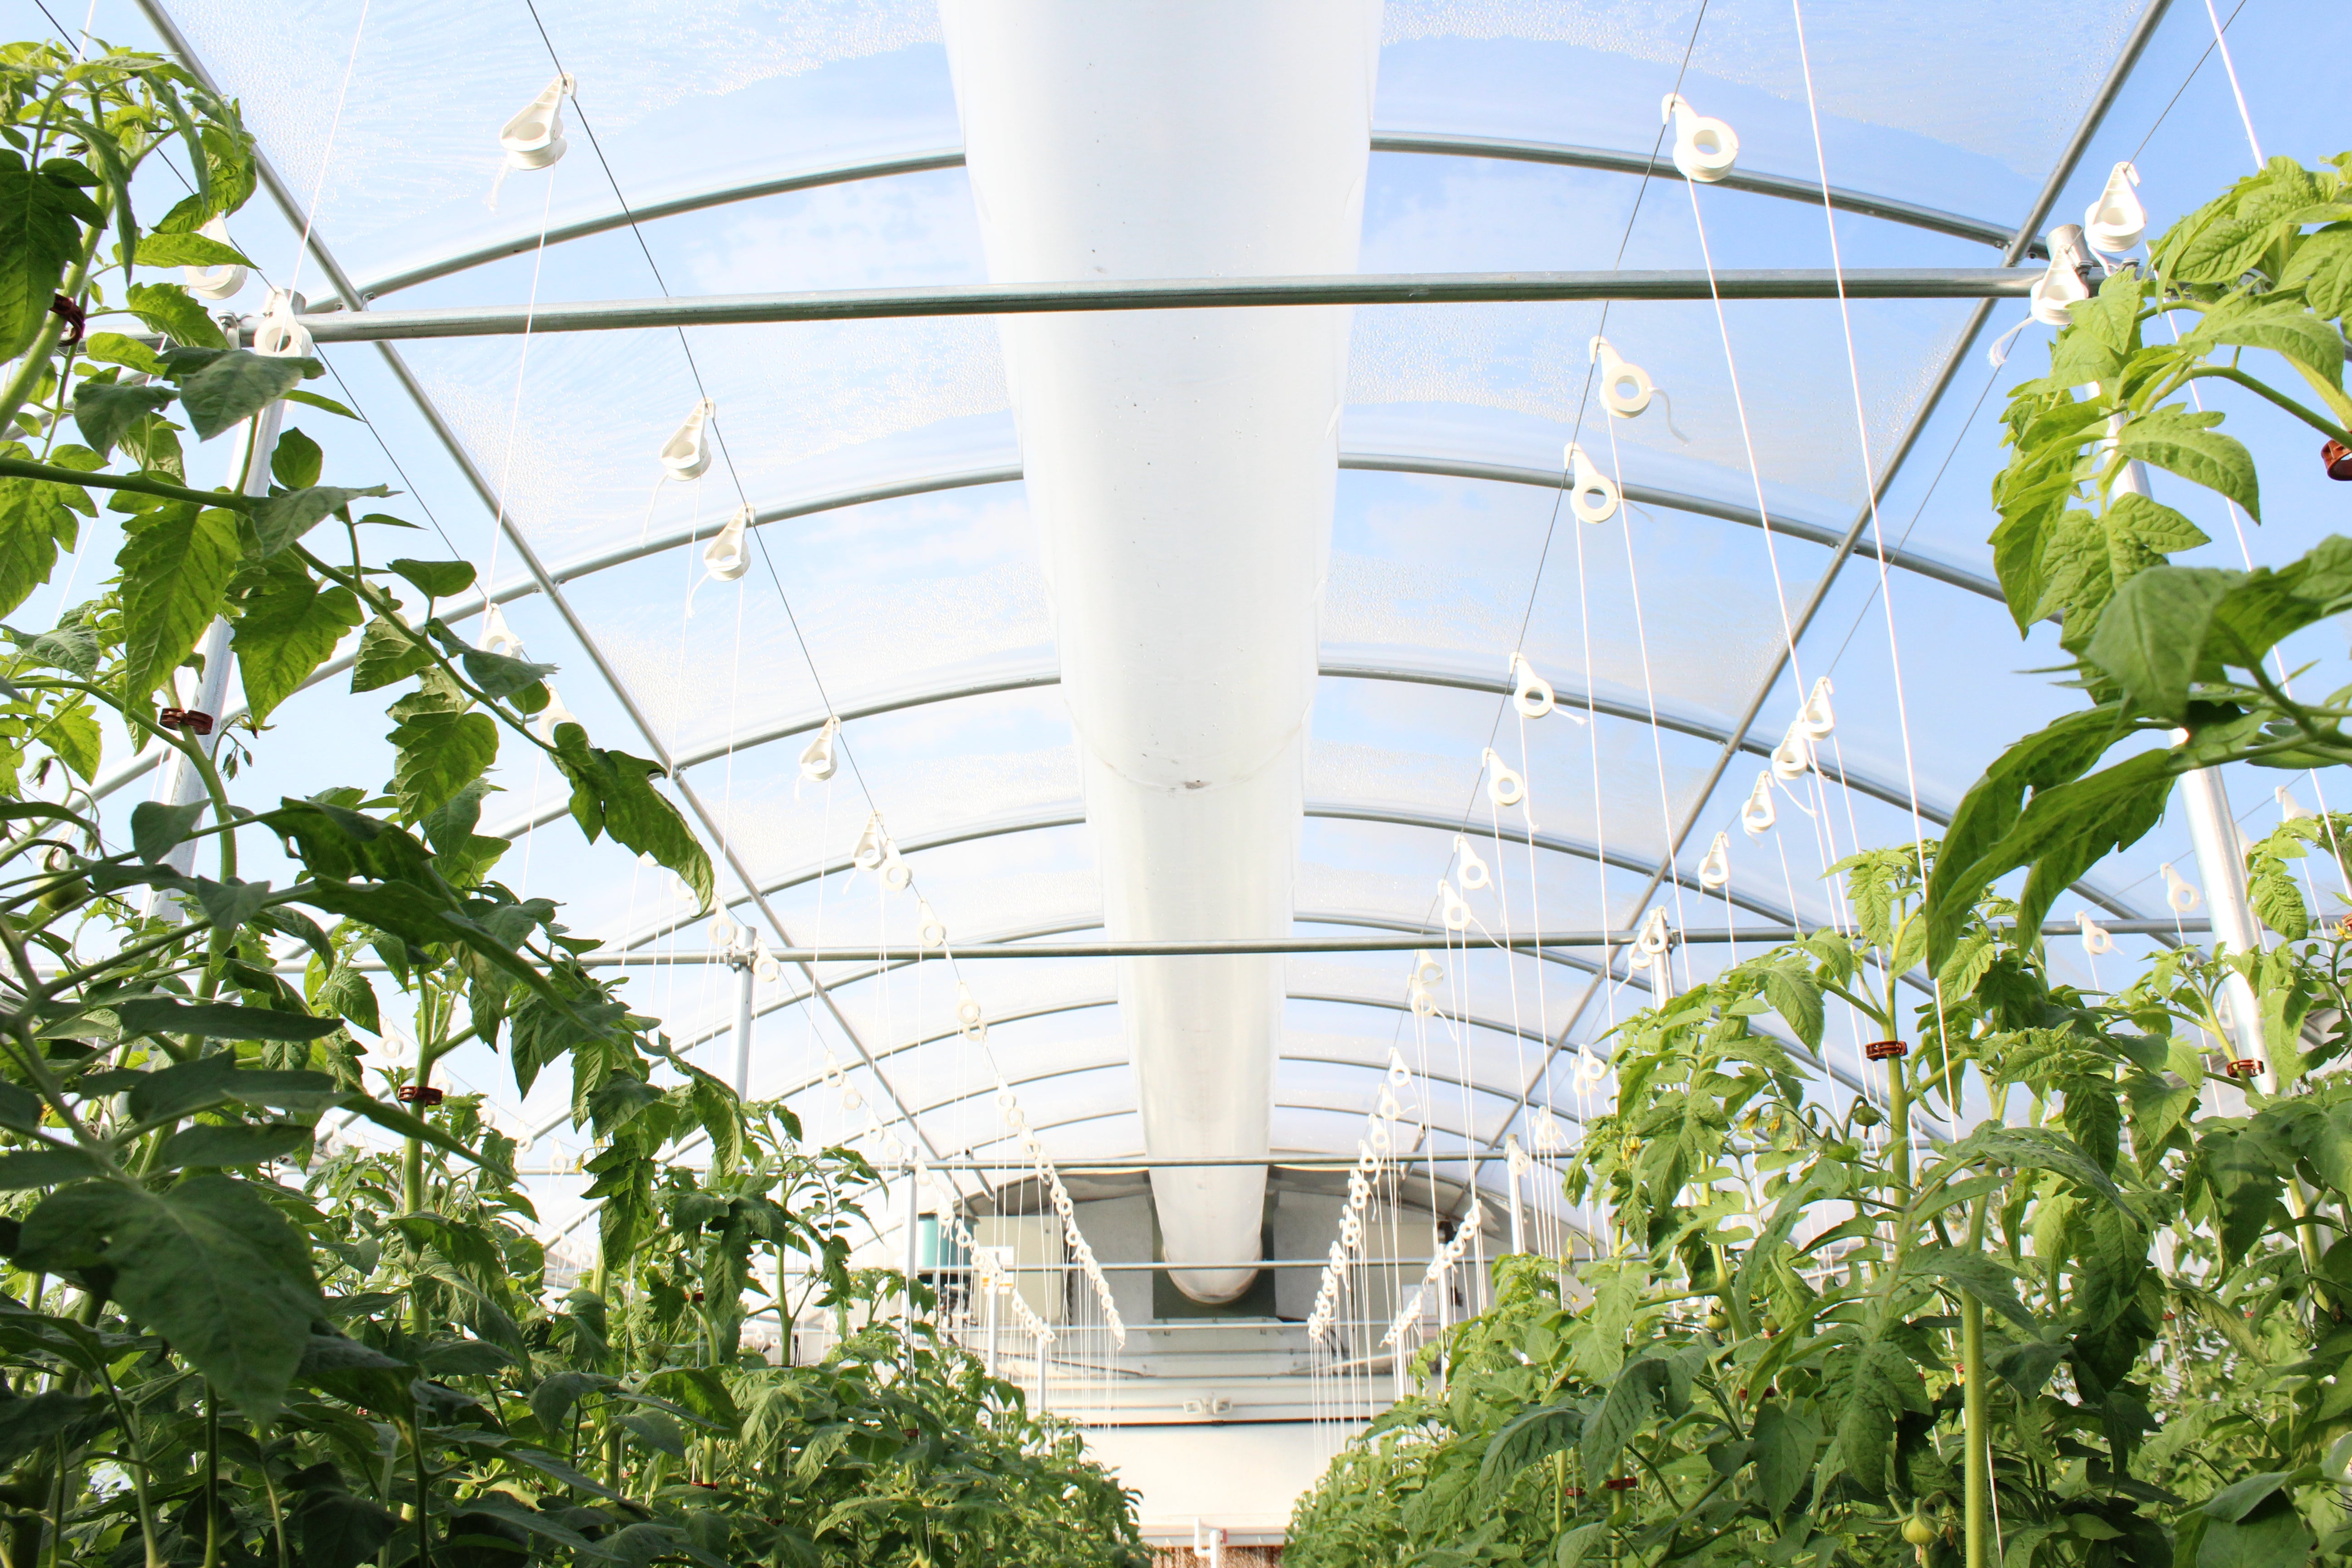
Once in the bucket, nutrients are drip fed to the plant, and the plant is trained to grow vertically, supported by a plant support system that consists of support post and wires. The plants are clipped to twine that hangs from the support wires by using a vine clip. The plants are suckered (removing any new growing tips) and working with just one or two main vines. The plants put more of their energy into producing fruit than more foliage and growing tips.
Starting Seedlings
The quality of your seeds is important when growing tomatoes (or any other plant) for profit. Hybrid seeds that have been bred for greenhouse production is worth the extra cost. Higher fruit production and disease resistance is important for the life of the crop. But buying seed is not the only important item. Seeds must be started correctly, nurtured nicely, and developed during all phases of their growth to ensure the best yield using hydroponic grow systems.
For hydroponic growing, most tomato seeds are started in rockwool cubes simply because it can contain enough water (which keeps the humidity around the seed high) to keep the seed moist during the germination phase. During germination seed temperatures should be kept around 78o to 81o (25o to 27oC) degrees by using a propagation (or heat) mat. After germination the temperature can be lowered to around 70o to 72o F (21o to 22o C).
Transferring to Dutch Buckets
When the seedling root start to show through the bottom of the rockwool cubes it is time to transplant them into the buckets. One or two days before transplanting moisten the perlite in the bucket to ensure that the plant will get enough moisture. Make a hole with a fat screwdriver or a dibber, in the middle of the perlite to take the new plant in its cube and cover it with a thin layer of perlite. (Many gardeners plant tomatoes deeper to create more roots, but for hydroponic seeds this is not needed.) Cover the bucket being careful not to damage the new plant.
Set your drip irrigation line so that the stake holding the line is in the rockwool cube to ensure that the plant gets maximum nutrients as its starts to grow in the perlite. It can be moved farther away later. Keep the ambient temperature of your hydroponic grow system around 68o to 70o F (20o to 21o C) although nigh time tempertures can be lower and summer daytime temperatures may go as high as 85o F (29o C).
Lighting
We do not suggest lighting tomato plants except when they are seedlings. Our northern growers usually start their seeds during December when the light levels are low so they will hang lights over the seedlings. Those plants don’t begin producing fruit until the end of March when the light levels have increased. Southern growers have enough natural light during the winter months and can produce fruit all winter long. They start their seedlings in late July or early August and pull the crop out of the greenhouse in late June or early July to get the greenhouse ready for a new crop. It is difficult to get the light to penetrate through the canopy of foliage when the lights are hanging in the top of the greenhouse. We are not trying to promote foliage growth, but rather fruit production. Lights are usually too costly in a tomato greenhouse to be profitable.
During winter months you will need to provide additional lighting for your tomatoes. Most growers use the Daily Light Integral to determine how and when to turn the lights on and off. Lighting can be either metal halide, T5 fluorescent, or LED lights to minimize plant stretching and to keep up fruit production. (I suggest this be expanded and hypertext linked to the explanation. RM)
Training Your Plants
After transplanting the seedlings into the bato bucket, you will need to start training them for maximum production. There are different products that can be used to support the plants. We recommend either twine filled Reelenz units or Bato Bobbins which hang from an overhead support wire down to the plant. Reelenz units have 80' (about 25 m) of twine for about two years of use, while Bato Bobbins are preloaded with 40' (about 12.5 m) of twine for one year of use.
To install the twine, hook the twine spool over the greenhouse support wire about twelve inches (31 cm) to one side of the bucket center and allow enough twine to hang down until it can be clipped to the plant stem at about the fourth or fifth leaf. As the plant grows, add clips to hold the main stem next to the twine. Make certain that no fruit comes in contact with the twine or the fruit may get marked.
With the twine in place, you will need to remove the suckers that begin to grow just above each leaf node. If these suckers are not removed, the plant will get bushy cutting down on fruit production. Simply nip the suckers off with thumb and forefinger when the suckers are about one to two inches long. The best time to do this is in the morning when sap flow is slow in the plants. Along with suckers, lower leaves are often removed to allow air to circulate (which helps to keep humidity down and cuts down the chance of fungal disease) and to help low hanging fruit to ripen.
There are two basic types of tomato plants- determinate, also called bush tomatoes and indeterminate. A determinate plant will mature and produce most of its fruit at one time, usually within a two week period. An indeterminate plant will continue to produce fruit until its growing tip is stopped. That can occur when the growing tip is removed or occasionally they self-terminate. If this occurs too early, before it is time to take the crop out of the greenhouse, it is possible to allow a sucker to become the new growing tip. By training your indeterminate plants to a single growing point and pruning suckers, they will continue to produce for many months resulting in better overall yield. About a month before you are ready to take the crop out of the greenhouse, you should remove the growing tip so that all of the energy goes into the fruit instead of producing more foliage or fruit that will never ripen.
Pollination of Tomato Flowers
When a tomato plant is growing outdoors, wind, rain, insects and gravity all help to spread the pollen from the hollow tube that makes up the male anther. When a bee lands on the flower, the vibration of the insect causes pollen to drop out of the anther, onto the bee and also on to the sticky stigma of the flower. Thus the flower has pollinated itself, but more importantly, the bee flies off to another flower and pollinates that flower as well. Pollination of its own tomato flower can also be caused by any form of movement of the plant, thus wind, shaking the plant, insects and even small birds can cause the flower to be pollinated.
falseIn the greenhouse, the problem becomes slightly more difficult in that wind, rain and insects are not present and the grower has to induce pollination. "Artificial," for the want of a better word, pollination can be done with a hand pollinator or petal tickler. Both tools are rather like an electric tooth brush in that they vibrate the flower to cause the pollen to drop out of the anther and onto the stigma. However, hand pollination takes time and dedication on the part of the operator (it must be done at least three times a week for best results). Most commercial greenhouses use hives of bees to do this work. In the greenhouse, Honey bees will not work. They find their way by using the sun and since the cover on a greenhouse has diffused light, a honey bee will not be able to orient themselves and will often die trying to find their way to the hive. Bumblebees work well in a greenhouse situation and they find their path by using maker or “signposts” in the greenhouse to make their way back to the hive. Bees know when the humidity levels are best for pollination so fruit set is better with bees than using a hand pollinator or simply shaking the plant.
Cleaning Dutch Buckets
After the tomato (or any other plants have finished fruiting, the entire plant should be removed and disposed of. to dispose of the plant, cut the stem just above the bucket and at the top of the twine. Dead plants should be disposed of outside the greenhouse to remove any chance of disease.
You can reuse the Perlite for your Dutch bucket hydroponics system but to eliminate the possibility of disease most growers dispose of the used perlite along with the plant roots (be sure to retain the elbows). The Bato buckets can be flushed with OxiDate or ZeroTol, or they can be taken off the nutrient disposal line and hand washed. The nutrient lines and disposal lines are flushed separately.
Before the next crop is transplanted into the buckets, you will need to run acidic water through the entire system to flush out any residues and salts that may be left over from the fertilizing process. The nutrient solution should be mixed before transplanting to be sure it is available to all plants.
Mixing Nutrients
CropKing has a basic fertilizer for vine crops Hydro-Gro Vine Crop for tomatoes and vining plants. However, but like the NFT system nutrients it must be mixed properly to ensure that the right nutrients are available to plants. CropKing suggests that commercial growers use our Nutrient Injection System which will automatically dose the concentrate fertilizer with the source water at also control the pH.
To mix nutrients you will need two concentrate tanks. In the first tank mix the right amount of Hydro-Gro tomato fertilizer and water for the amount of mix that you are preparing. (CropKing has tables to show exactly how much to mix.) In the second tank mix calcium nitrate and potassium nitrate to suit the amount of nutrient mixture. Be sure that both concentrates are fully diluted in water.
At that point you can take one gallon of both concentrates and mix them with 100 gallons of water to get the right nutrient mix. Check the electrical conductivity of the mixture. (See the CropKing manual for details.)
dutch bato bucket buckets